Import Sites
Import Sites lets you add many sites and pages to a project at once by uploading a CSV file. You can download a template, fill in site names, page URLs, and optional tags, then upload the file and apply default settings (locations, devices, test frequency, and so on) to all imported sites. After reviewing or editing the list, you run the import. This is useful when you have a large number of sites to add or when your site list is already in a spreadsheet.
Let's get started!
1. Open Import Sites
Click on Settings in the top menu.
Click on Clients.
Click on the client that owns the project you want to add sites to.
Click on the project. You will see the project’s Sites list.
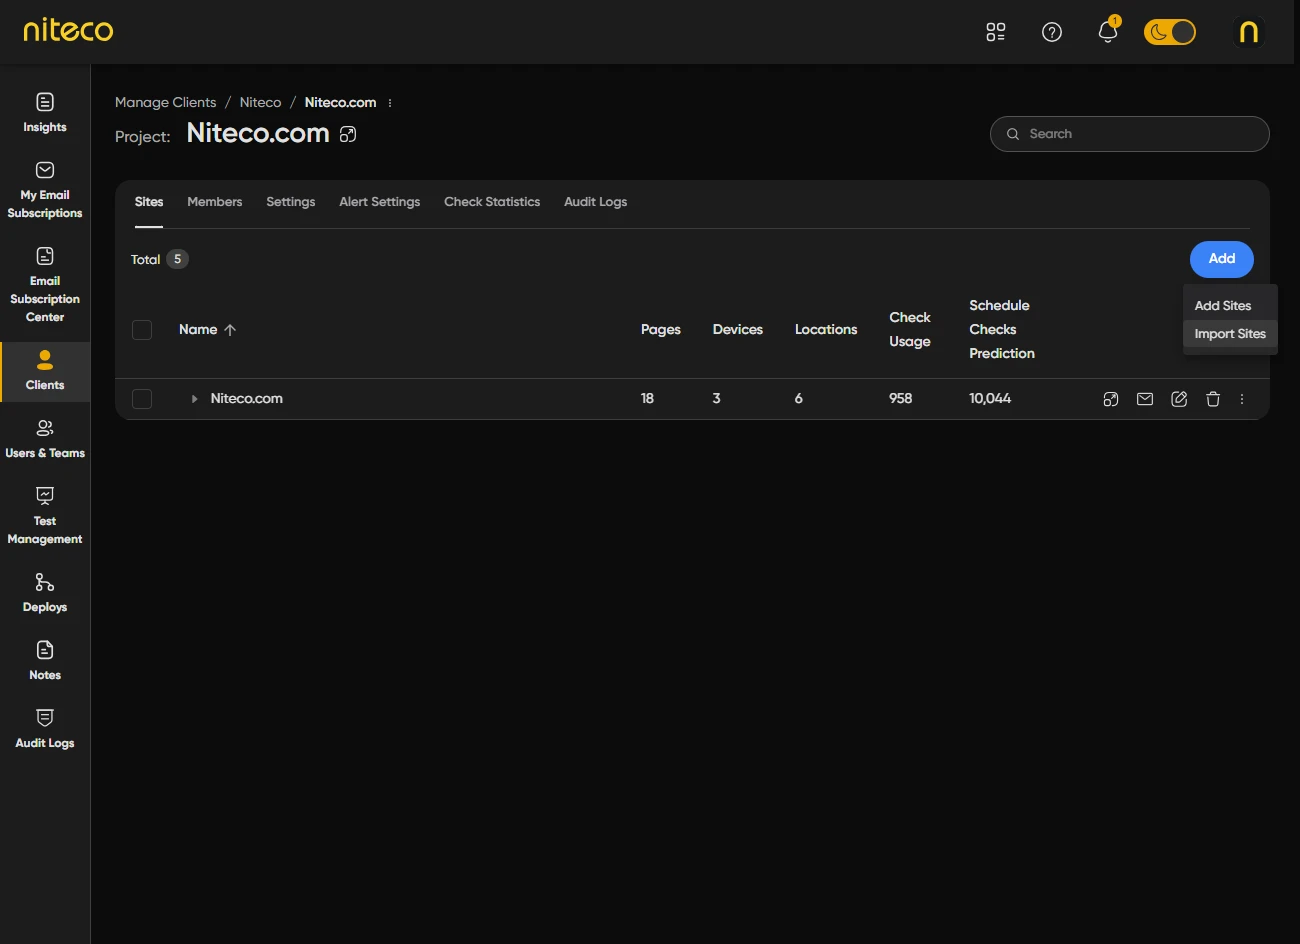
Click on Add.
In the menu that appears, click on Import Sites.
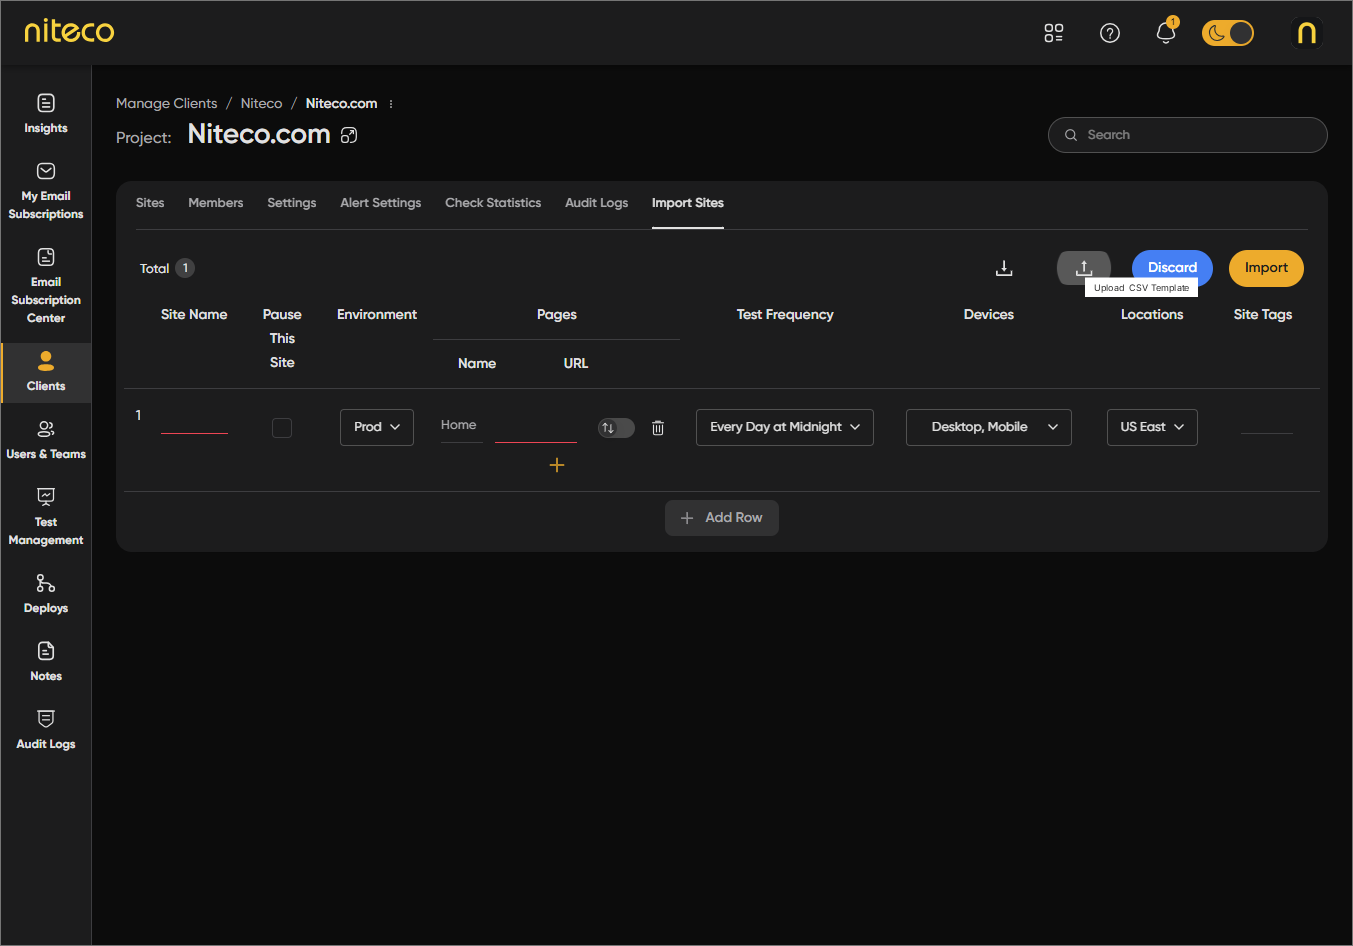
You will see the Import Sites page with options to download a template or upload a CSV file.
2. Prepare Your CSV File
You can use the built-in template so your file has the correct columns and format.
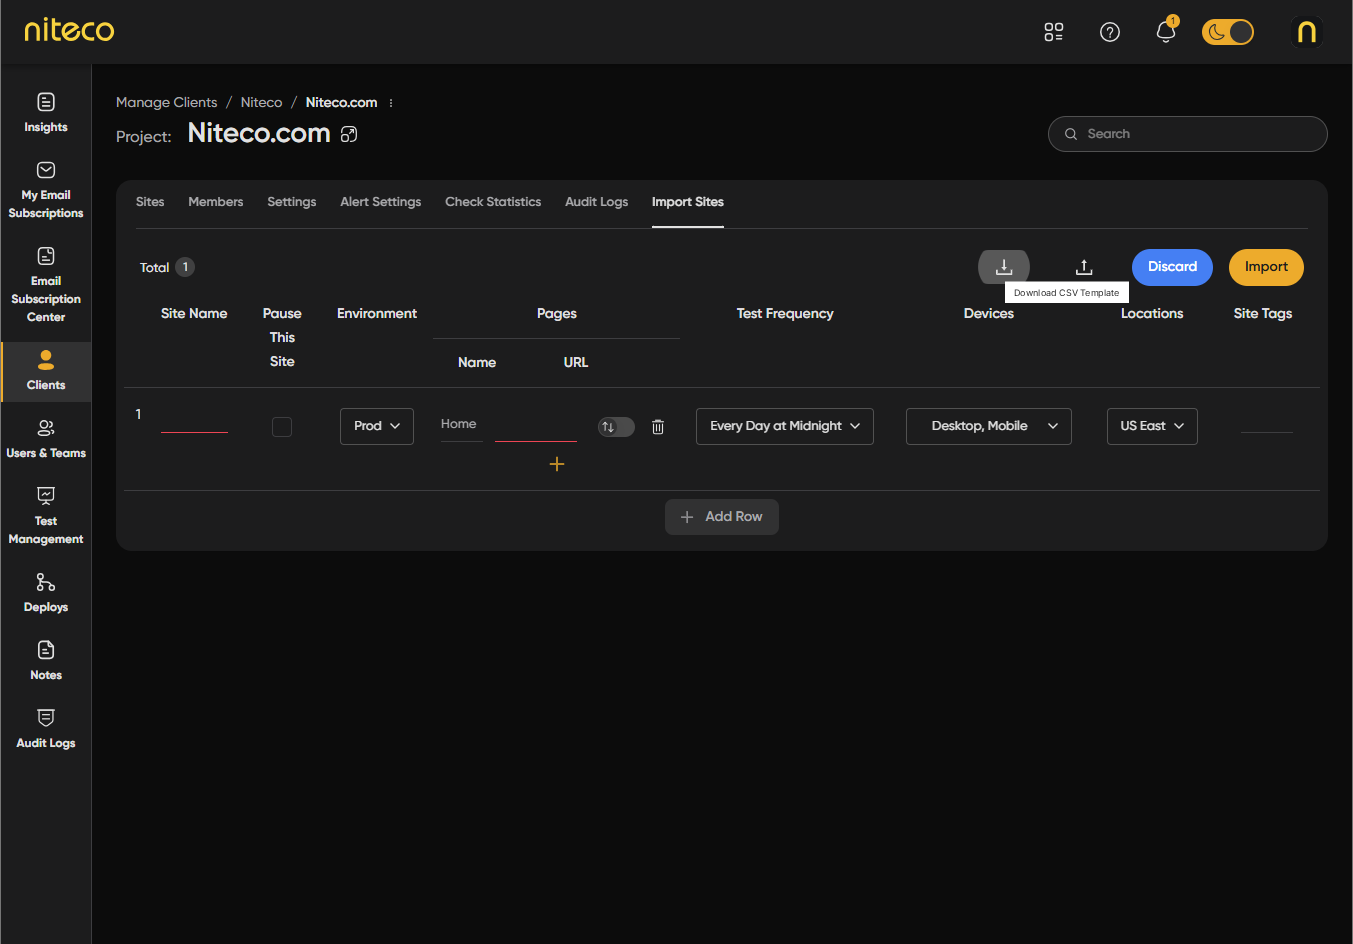
Click on the Download CSV Template button (download icon) on the Import Sites page to save the template file.
Open the template in a spreadsheet or text editor. The first row is the header.
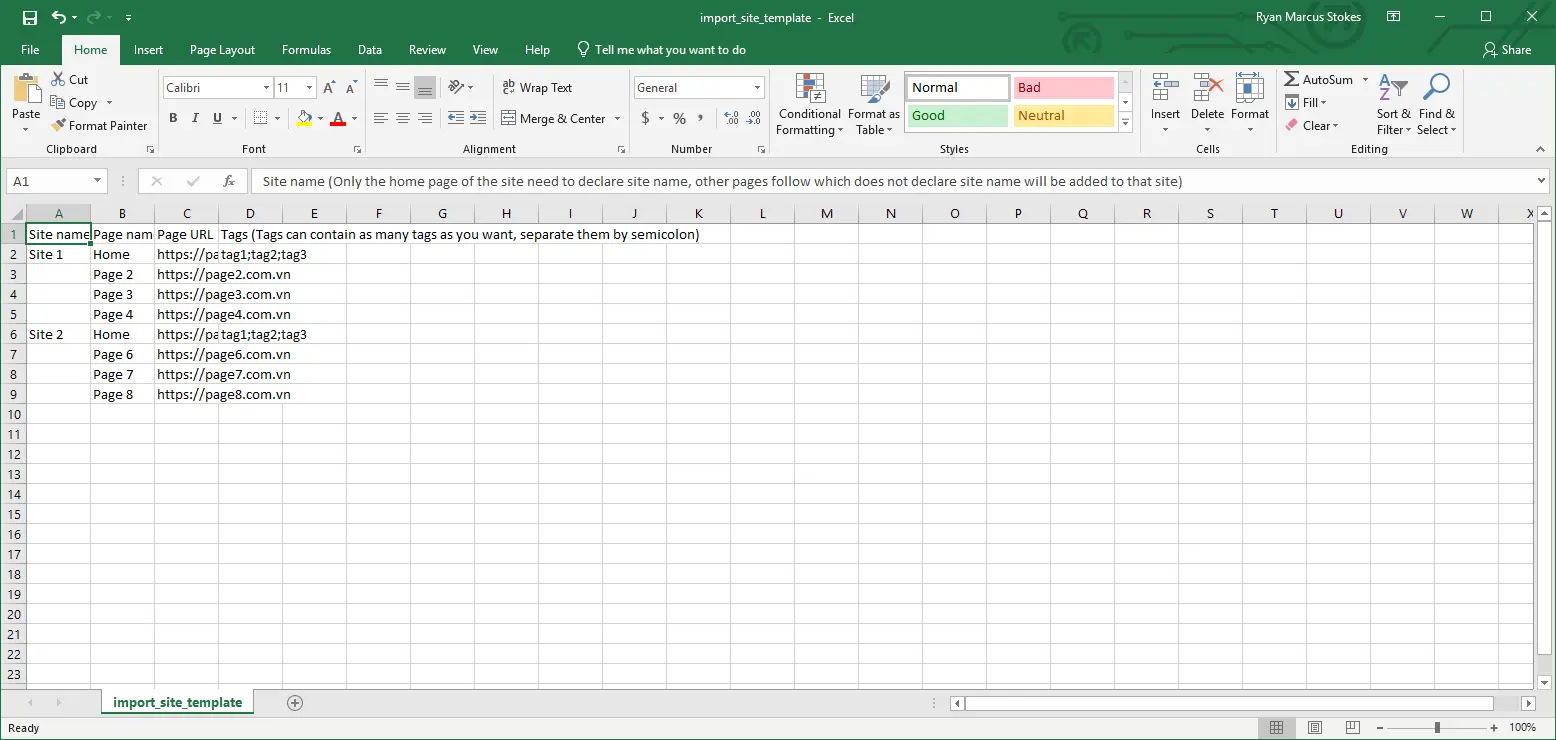
Each row after that is either:
- A new site – Fill in Site name, Page name (or leave blank to use the URL), Page URL, and Tags (optional; separate multiple tags with semicolons). The first page of a site is often named Home.
- Another page for the same site – Leave Site name blank. Fill in Page name, Page URL, and Tags as needed. That row is added as an extra page to the site in the row above.
Page URL is required and must be a valid URL. Site name is required for the first row of each site; for following rows that belong to the same site, leave Site name empty.
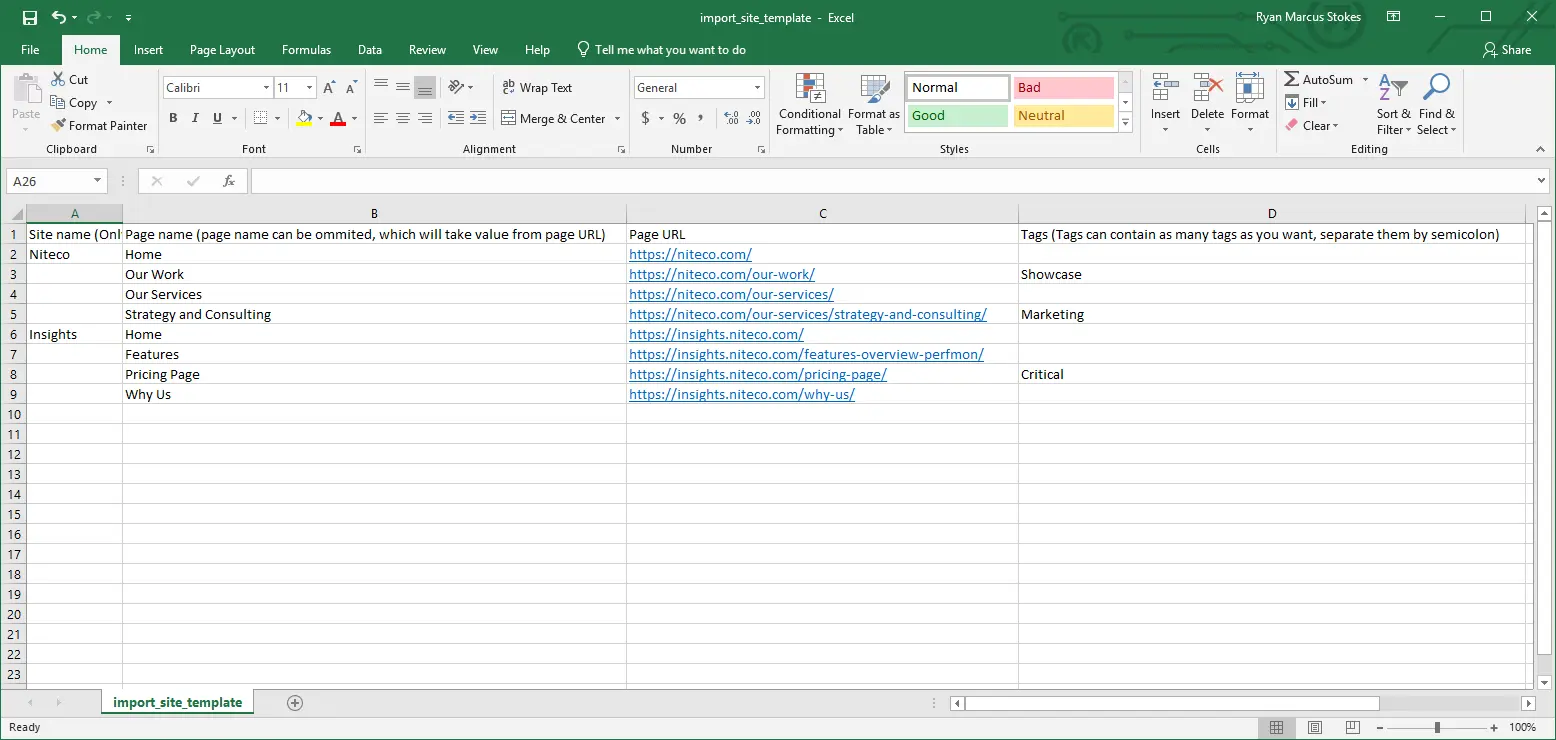
Once you have filled out the CSV template you can upload it to the system. The following is an example of the template filled out:
InfoIf you prefer to add sites one at a time, use Add and then Add Sites from the project’s Sites list. See Manage Sites for more on editing and managing sites.
3. Upload the CSV File
Click on the Upload CSV File button (upload icon) on the Import Sites page.
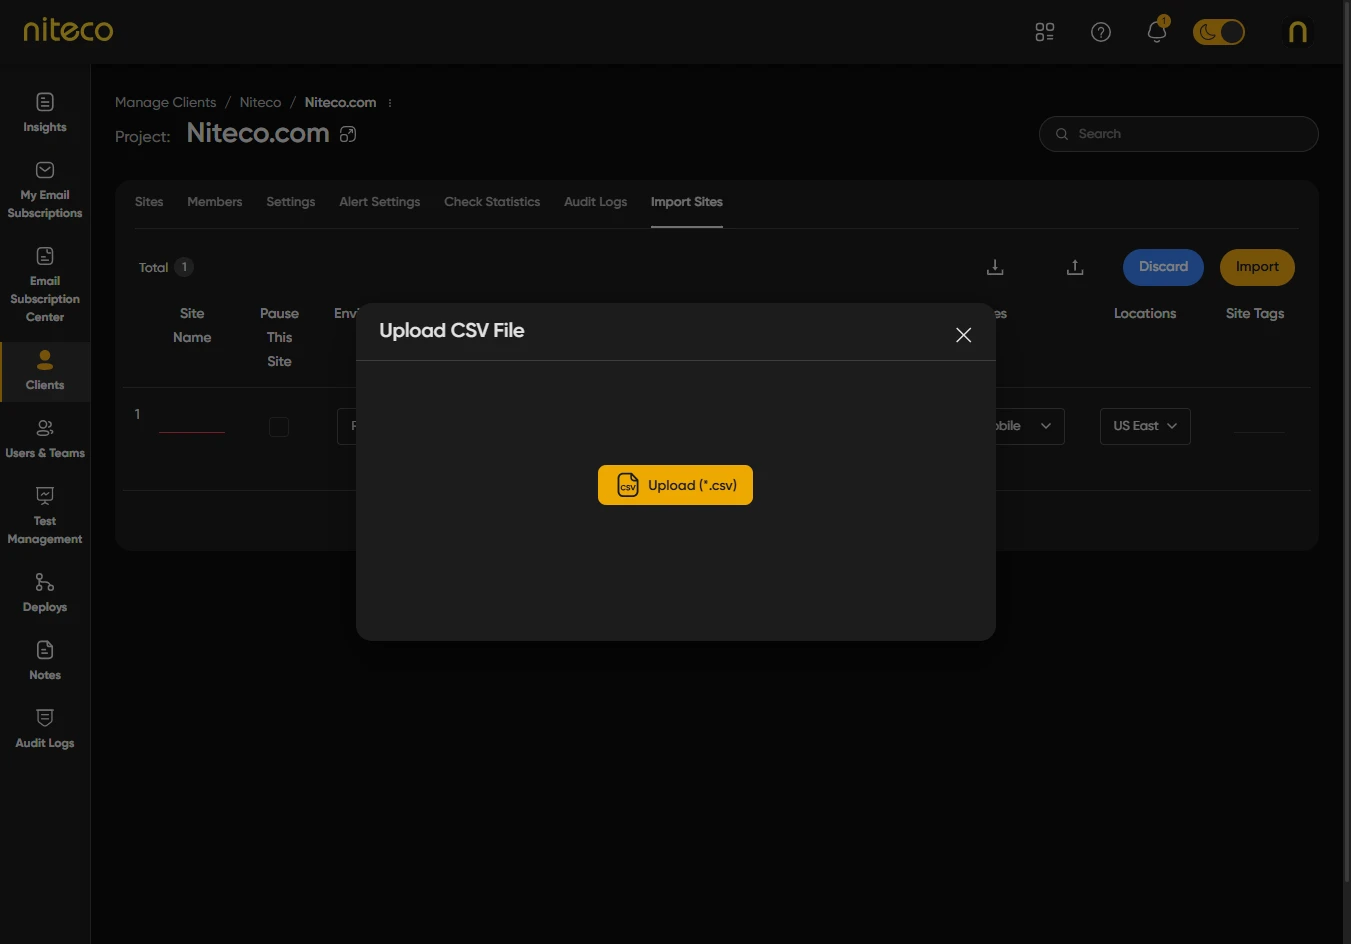
In the Upload CSV File dialog you can drag and drop a CSV file onto the upload area or click on Upload (*.csv) to choose a file from your computer.
If the file has errors – The dialog lists any errors (for example missing site name, missing page URL, or invalid URL). Fix the file and upload it again.
If the file has warnings – You may see warnings such as URLs that redirect to another address. You can review the list and then continue.
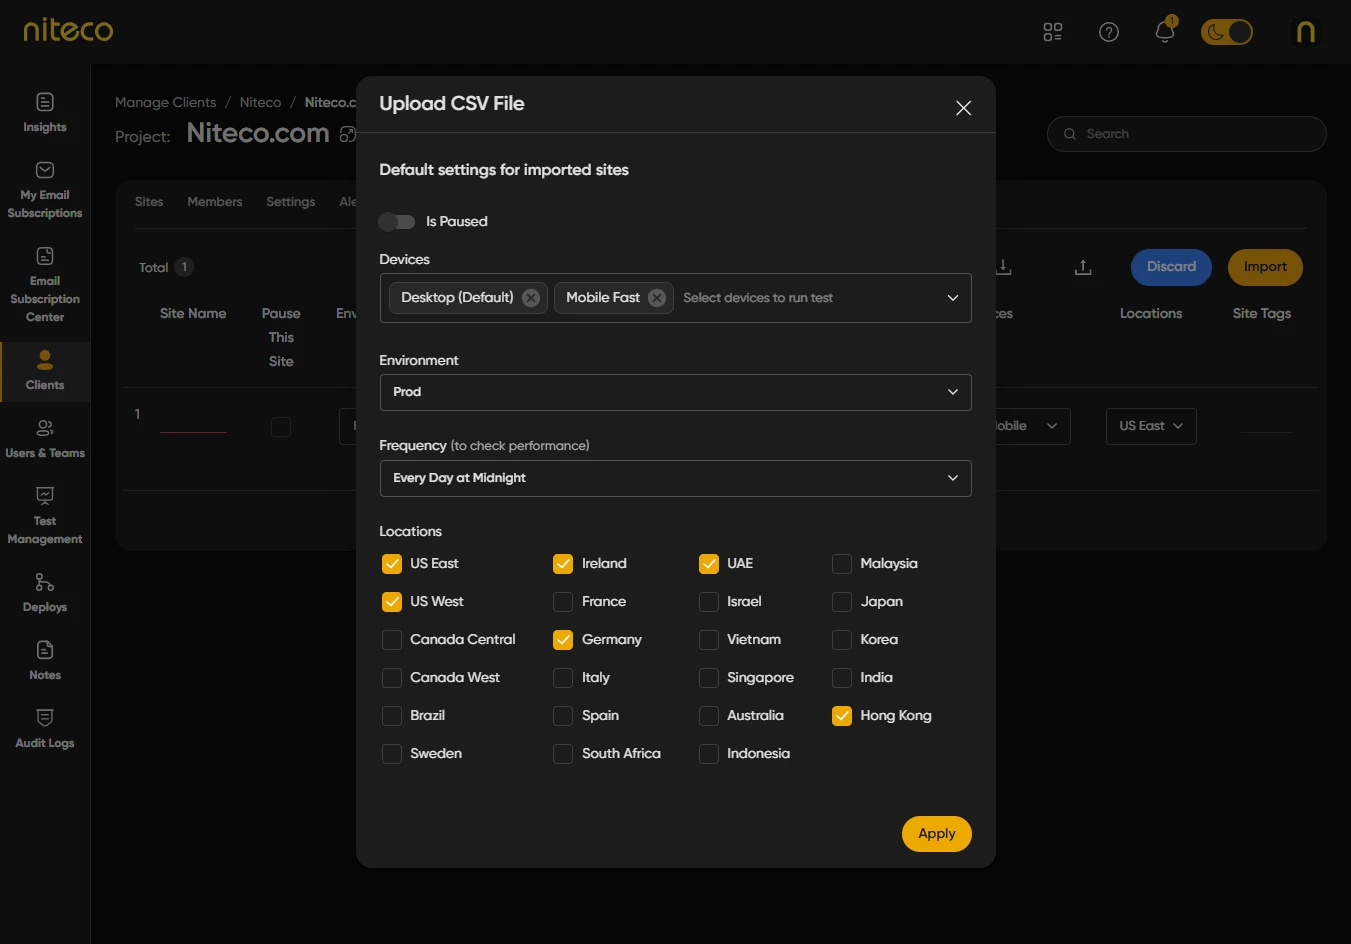
Set the Default settings for imported sites:
- Is Paused – Turn on to add the sites in a paused state so tests do not run until you unpause them.
- Environment – Choose the environment (e.g. Production, Staging) for the imported sites.
- Locations – Select at least one check location for the sites.
- Schedule – Choose how often tests run (e.g. daily, weekly).
- Devices – Select at least one device (e.g. Desktop, Mobile).
Click on Apply.
The dialog closes and the Import Sites page shows a table of all sites and pages that will be imported.
4. Review and Edit the List
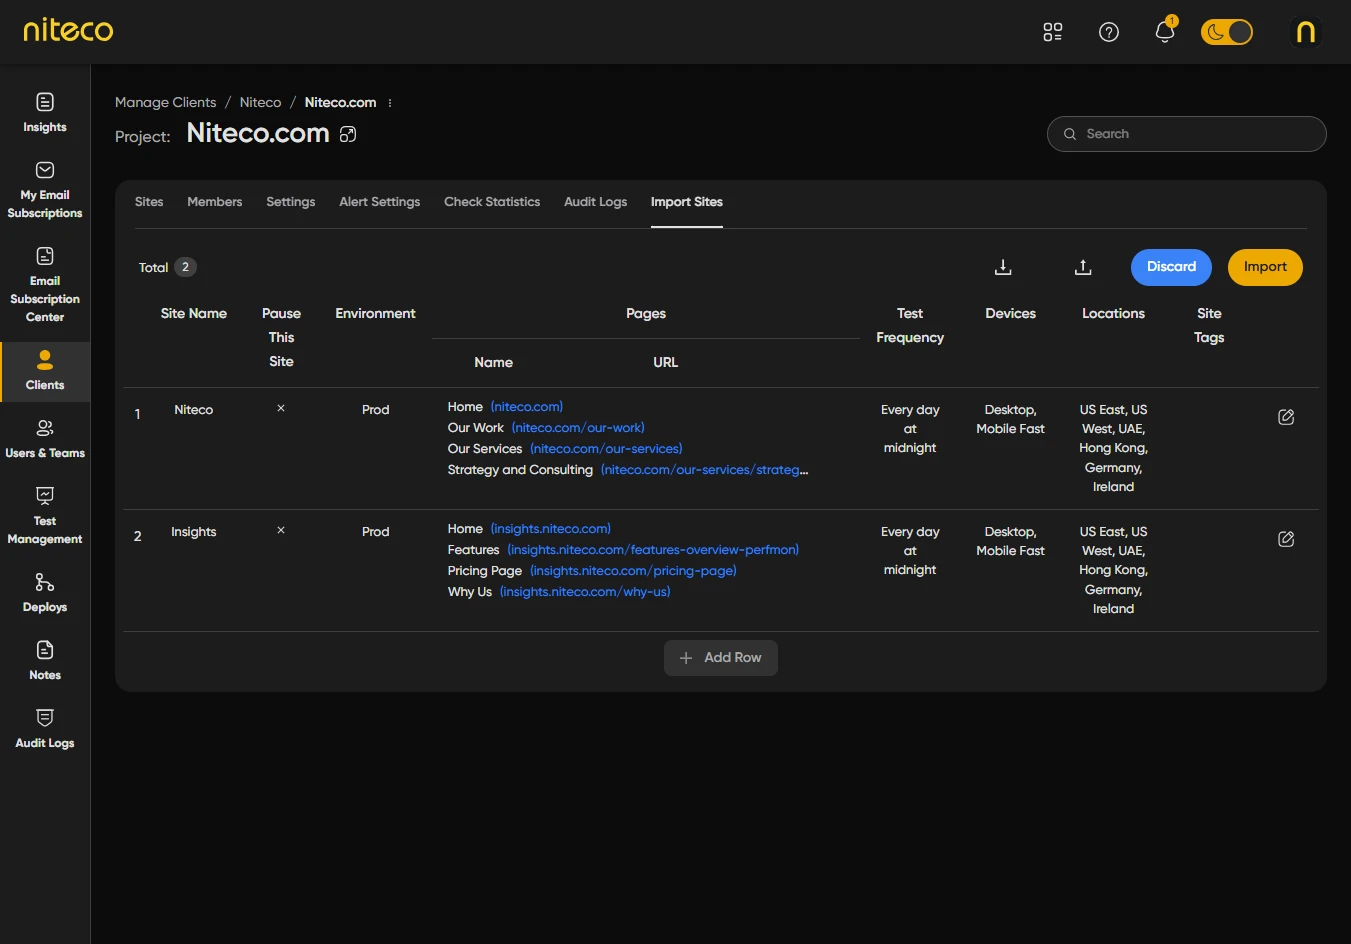
The table shows one row per site with columns such as Site Name, Pause This Site, Environment, Pages, Test Frequency, Devices, Locations, and Site Tags.
Review – Scroll through the list to confirm site names, pages, and settings.
Edit a row – Click on the edit (pencil) icon at the end of the row to switch that row into edit mode. Change Site Name, Pause This Site, Environment, Pages, Test Frequency, Devices, Locations, or Site Tags as needed, then save or exit edit mode.
You can edit multiple rows before importing.
5. Import or Discard
When you are happy with the list, click on Import in the toolbar.
The system imports the sites in batches. A progress message is shown. When the import finishes, you will see how many sites were imported successfully and, if any failed, how many failed.
To leave the Import Sites page without importing, click on Discard. Any uploaded data is discarded and you return to the previous page.
Updated 5 months ago